OWC Data Doubler Review And Installation
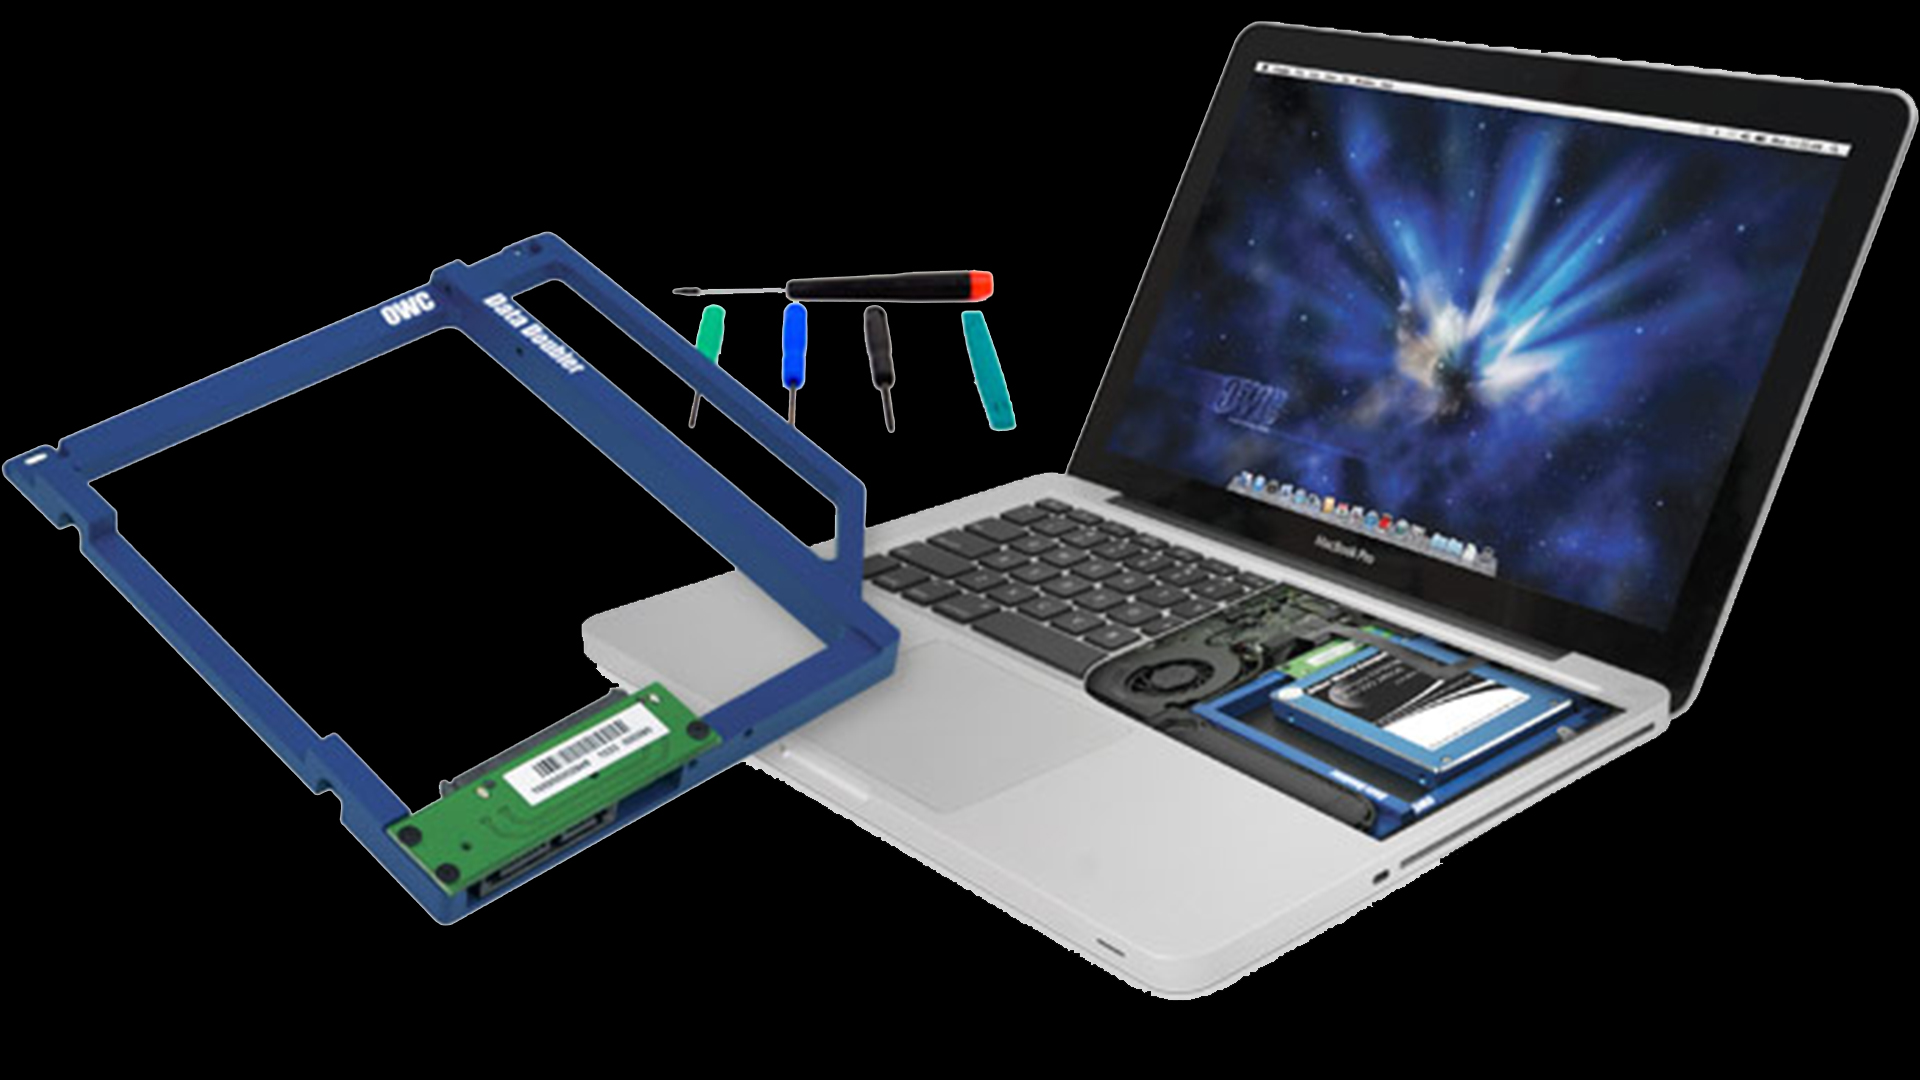
One of the downfalls of a laptop is that it can only have a single hard drive in it, which can be very annoying when you produce a lot of content. Storage is at a premium these days when you have a laptop and most of the time we have to sacrifice having a faster drive in them to having a higher capacity drive. Well not any longer thanks to the great people over at Other World Computer (OWC), they’ve engineered a way to replace the optical drive in a MacBook Pro with another hard drive. This now opens up the possibility of having a primary faster drive and a high capacity secondary drive for storage.
If you decide to get a OWC Data Doubler then you’ll need a little higher skill than you normally would if you were replacing the drive in your main bay. The kit that you can get from OWC comes in two flavors. One that comes with a drive of your choice or just the backet itself. Either way the install procedures are simple. You want to start off by unscrewing all of the screws on the underside of the MacBook Pro and lifting off the back panel being careful when the snaps are released.
From there you’ll want to think safety first and unplug the battery from the motherboard so that you can work safely without power running through the system. From there you need to detach three plugs from the computer, the SATA, power, and fan connector right next to the optical drive. After that is complete you can work on unscrewing the three screws holding the optical drive in place. You will have to remove the two screws nearest the top vent of the computer to get at one of the screws and just move it aside slightly.
Once everything is unscrewed you can work out the optical drive being careful to not tug any cables with it. Once the drive is fully released you’ll need to remove two of the components on the drive. You’ll need to remove the SATA cable and the bracket that is held in place by a couple of screws. After those are off you can set aside the optical drive and work on the backet.
To mount your 2.5″ drive on the bracket you need to alight it and plug it into the SATA connector and use the two included screws in the kit to secure it in place. Once that is complete you can connect the SATA connector to the bracket and attach the mounting plate with the same screws that you used when taking it off. Once all is secure and snug it’s basically a reverse operating from what you did.
Slide the bracket back into place being careful to slide it under the appropriate cables. Getting it all lined up you can new use the included screws in the kit to screw everything back into place. You don’t want to use the original screws because they won’t fit in the two outer most points. You must use the longer screws to do this because with the bracket you are changing the mounting point of that bracket just a tiny bit. From here it’s clear sailing as you screws all the screws back in and make sure they are snug and secure.
All that is left to do is plug in the three cables that you unplugged before being careful that you don’t break anything or snap off a cable. They will snap into place on the motherboard and should fit securely. That’s the last step with installing the OWC Data Doubler, all that’s left is reattaching the power cable and closing up the MacBook Pro by snapping the back cover into place and replacing all the screws being sure to replace the three longer ones in the upper right hand side.
Overall I really love the OWC Data Doubler and think it’s a must have for anyone who likes to store a lot of content. The installation procedure isn’t too hard to understand or do, the only tricky part is working with the small pieces. With a steady hand and some patience anyone can easily complete this task.