How To Take Screenshots in Windows 8

Before, you had to follow many steps just to take a screenshot in Windows. You have to press print screen, then launch an image creation/edit software like Microsoft Paint or Gimp or Photoshop, then paste the image into the program, save. Though there are some software (both paid and free) that will help simplify the steps, you still have to launch the program just to run the program or place it in your startup, taking precious resources that can be used for better processes. There is a way starting in Windows 8 that lets you take a screenshot of your Window in just two steps.
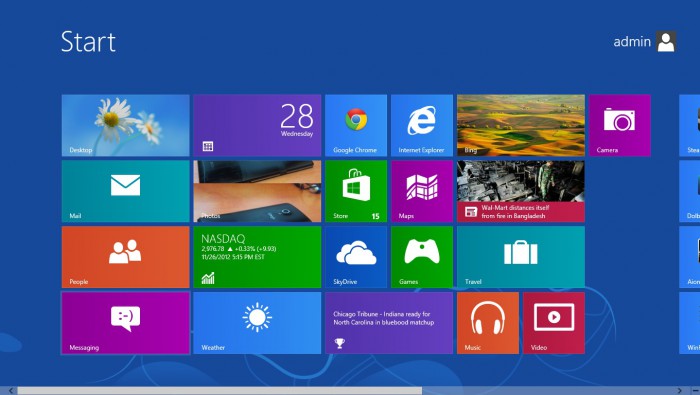
On your Windows 8 (non-tablet) machine (or newer operating system), press the Windows logo followed by the print screen logo. Windows will then slightly dim to show that it is taking a screenshot and automatically save the image in the Screenshot folder under Pictures folder as a .png file under Screenshot(#) (replace # with the number of screenshot taken).
For tablets running Windows 8, the steps are slightly different but do the same thing. On your Windows 8 tablet, press the Windows logo followed by the volume down button on your tablet. Windows will then slightly dim to show that it is taking a screenshot and automatically save the image in the Screenshot folder under Pictures folder as a .png file under Screenshot(#) (replace # with the number of screenshot taken).
Though the shortcut will not get you anything powerful, it is a quick trick to know and use instead of relying on another program to do what Windows can do now.