How to Create A Windows 8 To Go Flash Drive
 As our life becomes more portable, Windows 8 is right along there with it. Unlike our other post, that is not designed for a real life environment since it is using Windows 8 beta builds and other random Microsoft tools from other Microsoft downloads. Microsoft has released actual instructions on creating a Windows 8 flash drive.
You need
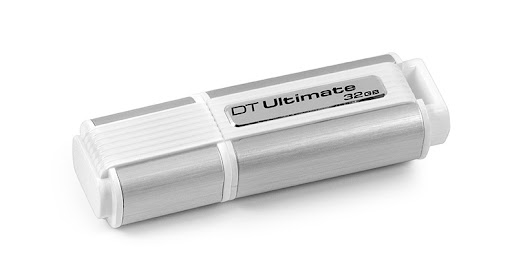
- One certified Windows 8 To Go flash drive
- A host system with Windows 8 Enterprise installed
- A Windows 8 Enterprise sysprep generalized .WIM file (this can be from install media or a captured custom Enterprise image)
Creating a Windows To Go flash drive using the To Go Wizard
- Turn on the computer.
- Connect the flash drive to the computer.
- Validate that the WIM file location you wish to use can be used by the elevated user that will run the tool. Also, validate that the WIM contains a valid Enterprise sysprep generalized image.
- Go to the start window and type “Windows To Go” and press enter.
- Click yes if UAC asks if you want to do this; the Windows To Go Creator Wizard should open.
- Follow the steps on the wizard.
- When you get to the “Choose the drive you want to use” page, select the drive you plugged in to the computer in step 2.
- When you get to the Windows 8 image page, click “Add Search Location” and point it to the WIM file folder you located in step 3.
- This is optional: Set up a BitLocker password. If you do not want to, you can skip it.
- Click “Create” to start the process of creating a Windows 8 To Go flash drive.
- Wait for the process to complete as it may take an hour to multiple hours to make a Windows 8 To Go flash drive.
If you want to do the things in a command PowerShell line, please head over to Microsoft’s Technet article to know more.